

Integrate your Twilio Whatsapp number in Helpwise to manage your Whatsapp chats with your team. Assign chats, add tags and notes, and keep a track of all your Whatsapp queries.
(If you already have a WhatsApp Enabled Twilio number, click here to jump to the specific section)
Problem Statement -
Currently, companies face a challenge in managing their WhatsApp Business numbers. It is easy to lose track of customer queries, leading to a sub-optimal customer experience. Integrating your Whatsapp Business numbers on Helpwise allows you to monitor and manage all Whatsapp chats with your customers seamlessly.
It also allows you to have a centralized Whatsapp number that your entire team can use to manage customer queries.
Prerequisites -
Follow the below steps if you do not have a Twilio Whatsapp number:Create a Twilio account by updating payment details and upgrading your account.
Acquire a Twilio virtual phone number
A Facebook account (required by Meta) to connect your Whatsapp Business Number to
Configuring WhatsApp Number in Your Twilio Account:
Login to your Twilio account.
Buy a Twilio number, if you haven’t; This comes at a minimal cost of a couple of dollars
Go to 'Messaging > Senders > WhatsApp senders'. This will redirect you to the WhatsApp Senders section of the console, where you can setup WhatsApp sender using your virtual Twilio number.
Review the details coming on this page and select 'Get Started'.
Review and accept WhatsApp's Terms of Service by checking the box and then clicking 'Confirm'.
Choose the phone number you wish to associate with WhatsApp's Business API, and input your Twilio number.

Linking Your WhatsApp Business Account to Your Twilio Account:
Select the "Continue with Facebook" button. This action will open a pop-up window that redirects you to Facebook.

Log into Facebook if you haven't already or click Continue as [your name] if you’re already signed in. After logging in, you will be shown an overview of the process to connect your number to WhatsApp.
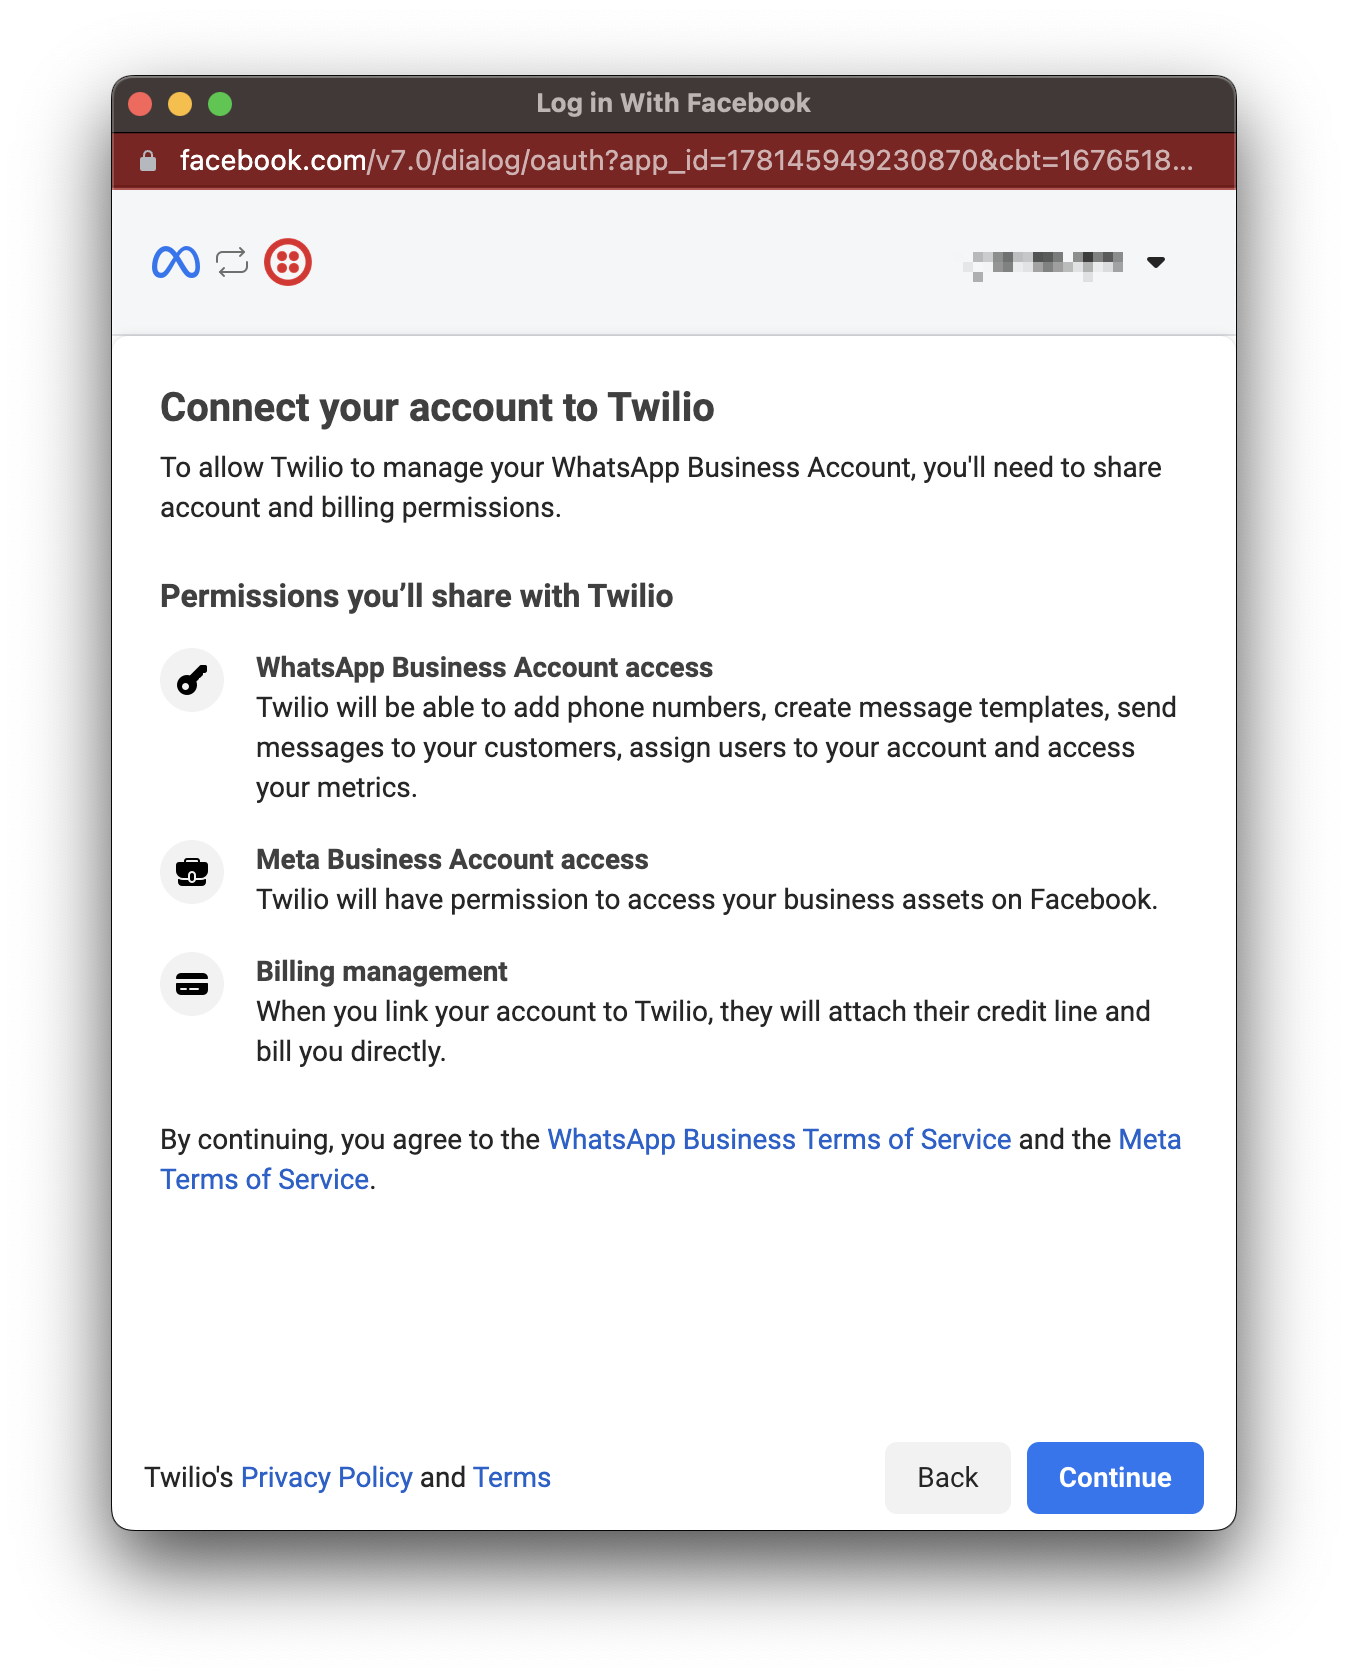
On the next screen, Facebook will request your permission to allow Twilio to manage your WhatsApp Business Account. Click "Continue".


In the next window, select your Meta Business Account associated with your business from the list. If you don't have one, you can create a new one by selecting the option “Create a Business Account”.
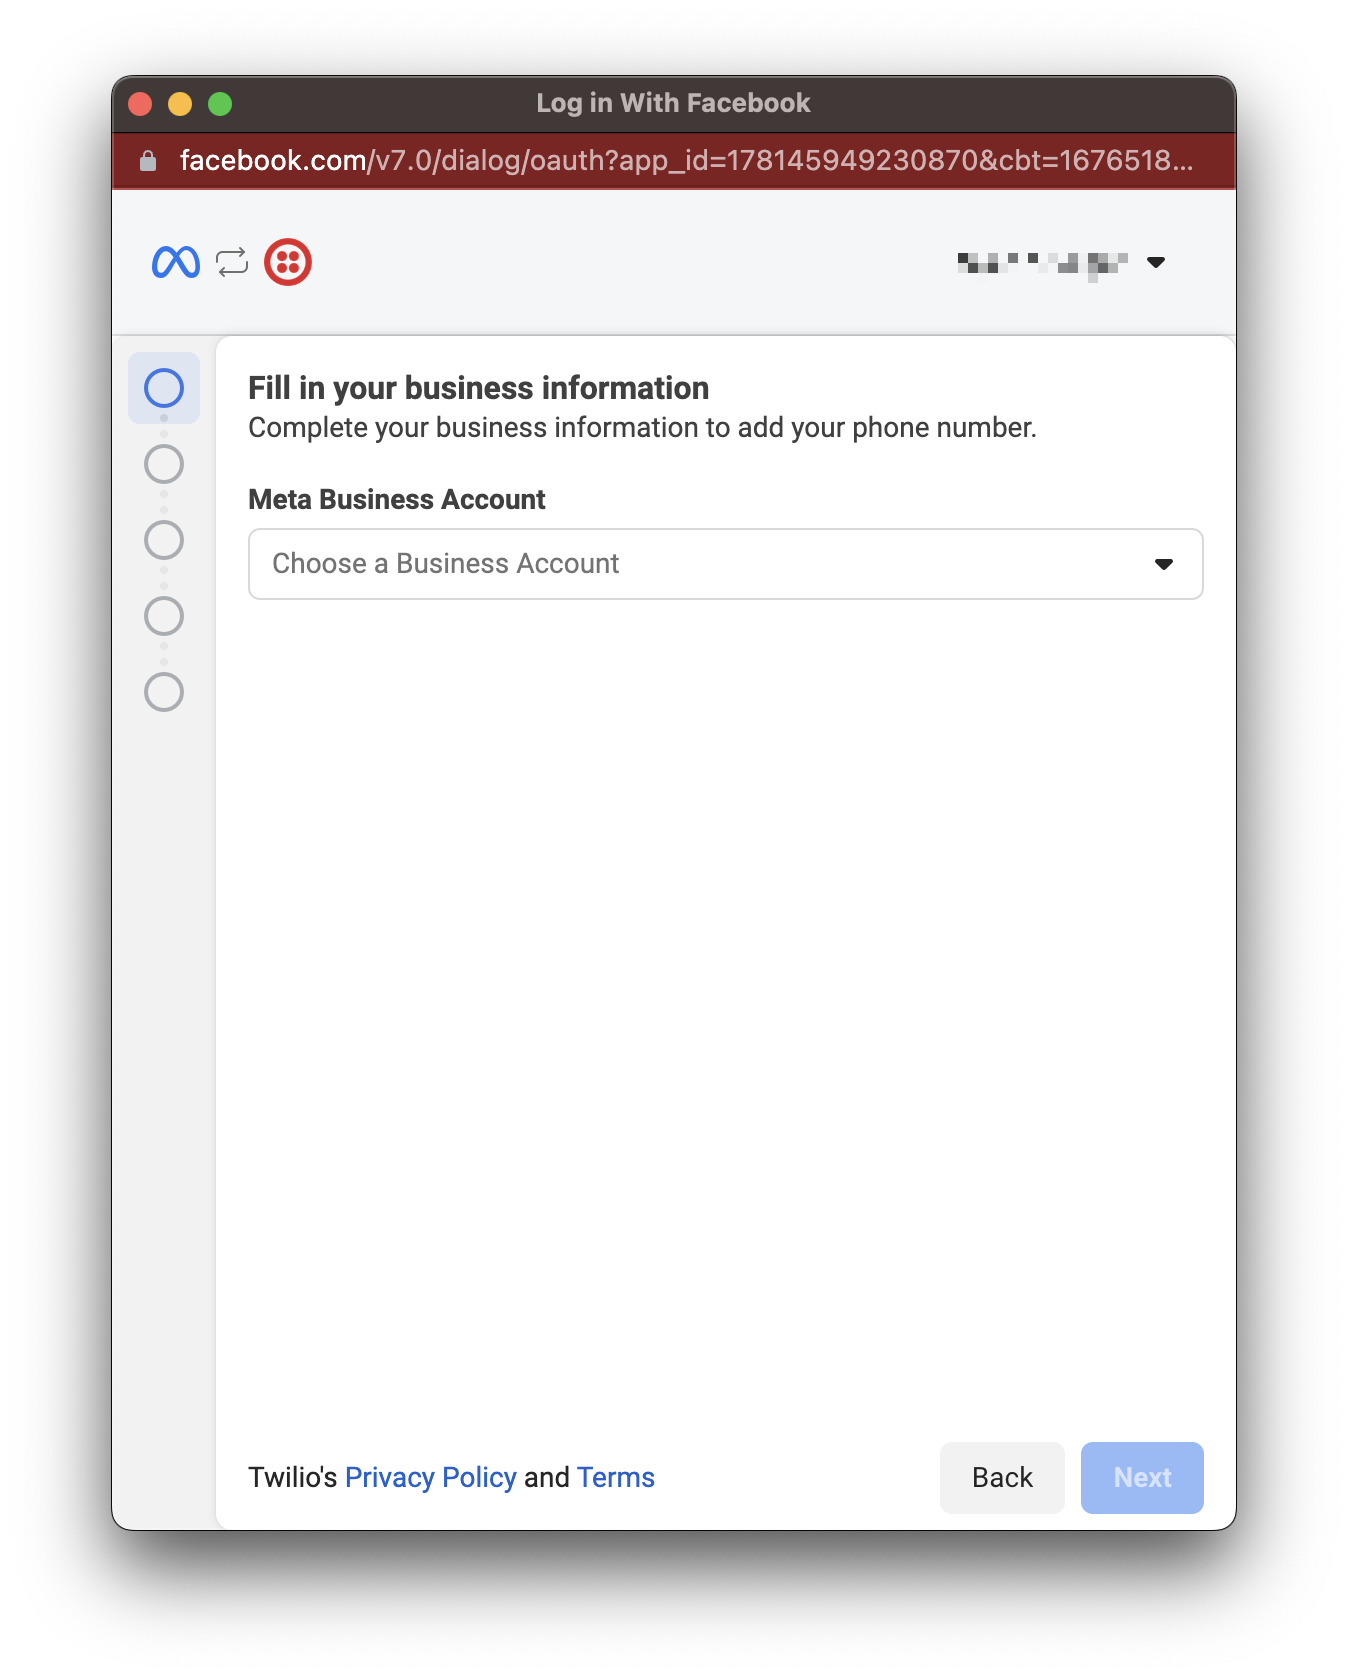
If you have an existing Whatsapp Business Account, select it. If you don't, you can create a new one (steps below).
Note: Please keep in mind not to select WhatsApp Business Accounts that have been previously associated with other providers, as each account can only be associated with a single business solution provider.

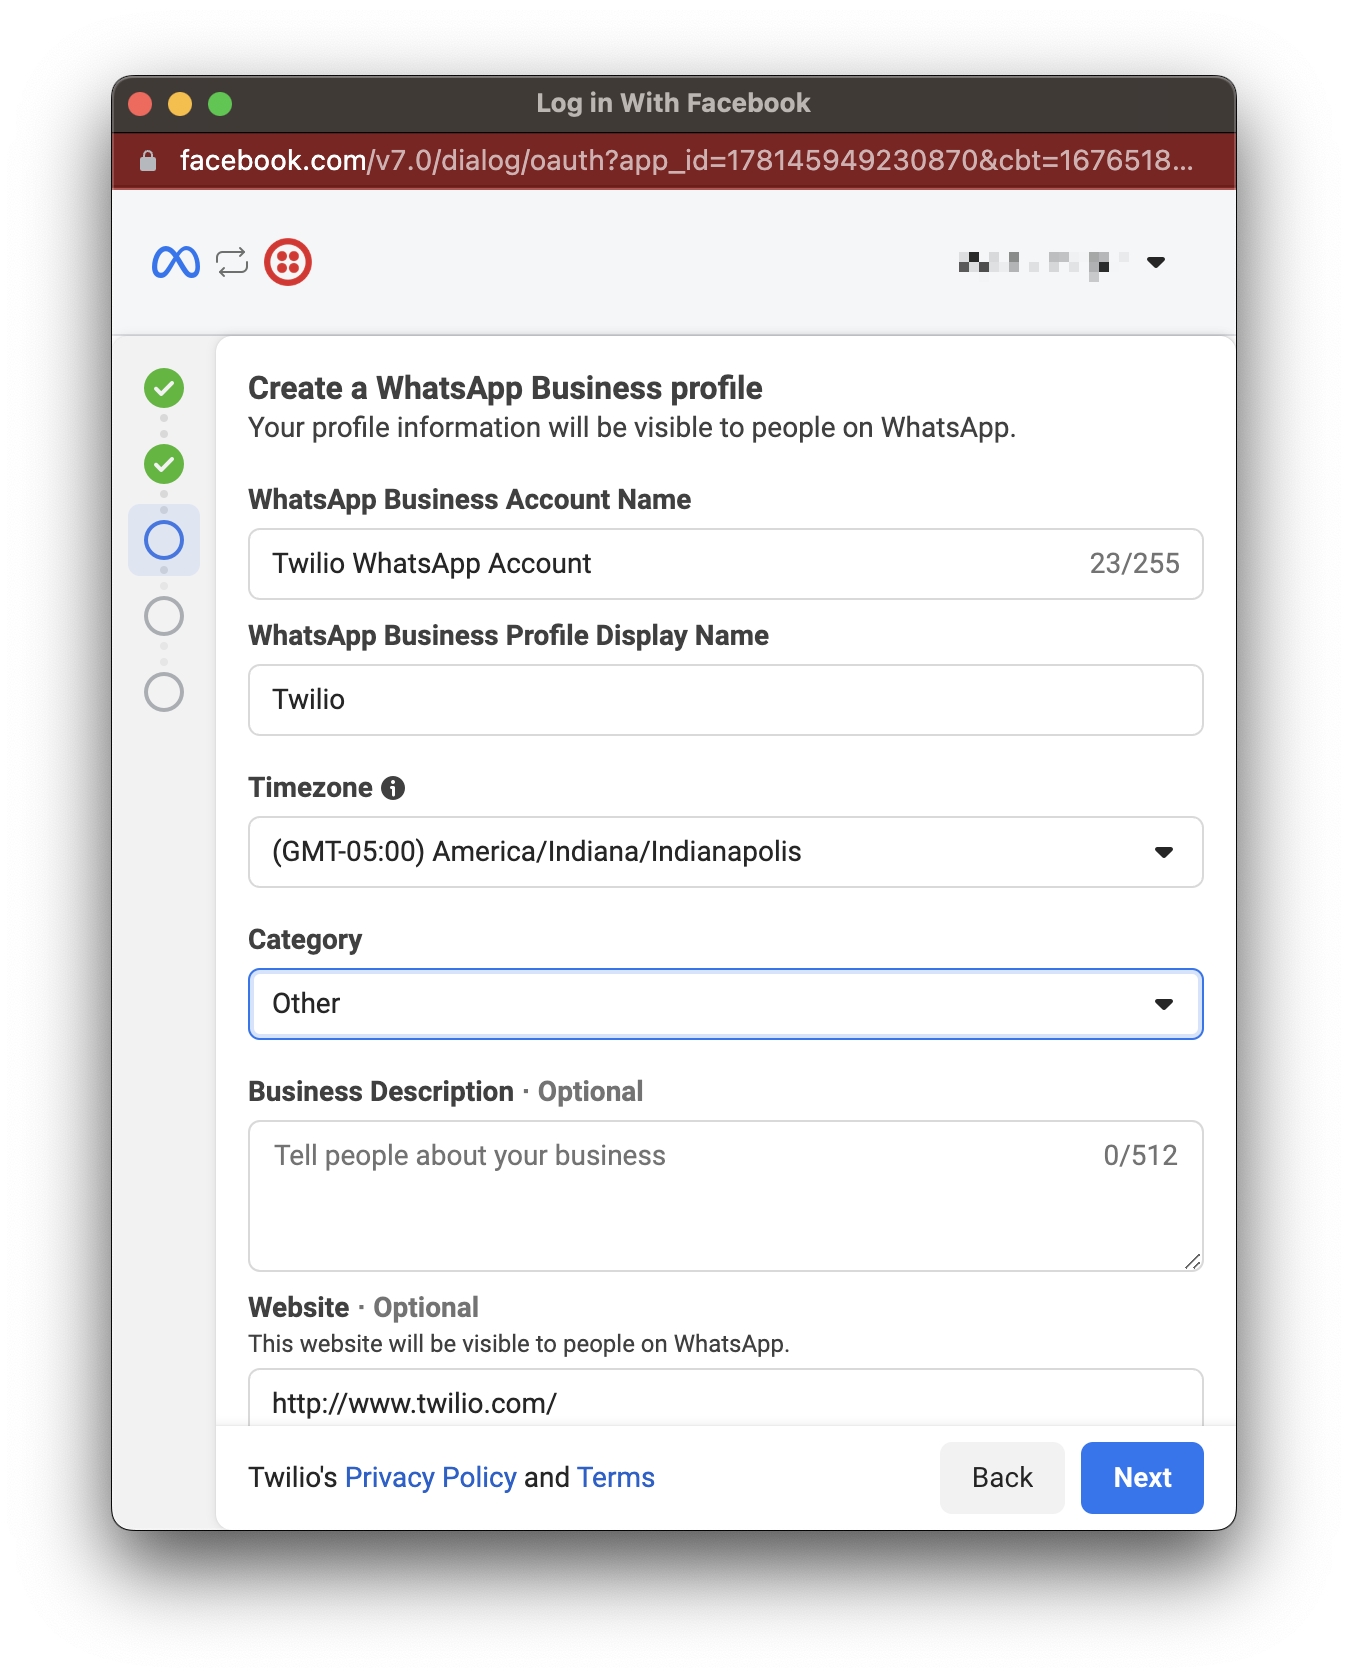
If you are creating a Whatsapp Business Account, you will be required to input the following details:
WhatsApp Business Account Name: This is for internal use and is not visible to your customers. If you have selected an existing Whatsapp Business Account, the name cannot be modified.
WhatsApp Business Profile Display Name: This is the name visible to your customers and must adhere to WhatsApp's specified requirements. Refer to the guidance mentioned here for more details.
Category: Choose the category that most accurately describes your business. Customers can view this information when they access your profile.
Business Description: This description is also visible to customers when they view your profile within the WhatsApp application.
Website: This would be visible to customers when viewing your profile in the WhatsApp application. After registering your WhatsApp Sender, you'll have the option to add an additional website if desired.
Verifying Your WhatsApp Number in Your Twilio Account:
Now, switch back to the Twilio Console window, copy your Twilio number and paste it into the Facebook pop-up window. Ensure that the Text Message verification method is chosen and then click Send Code.

The verification code will then show in the Twilio console under the 'Verification code' heading. Click 'Copy' and 'Paste' it into the Facebook pop-up window.
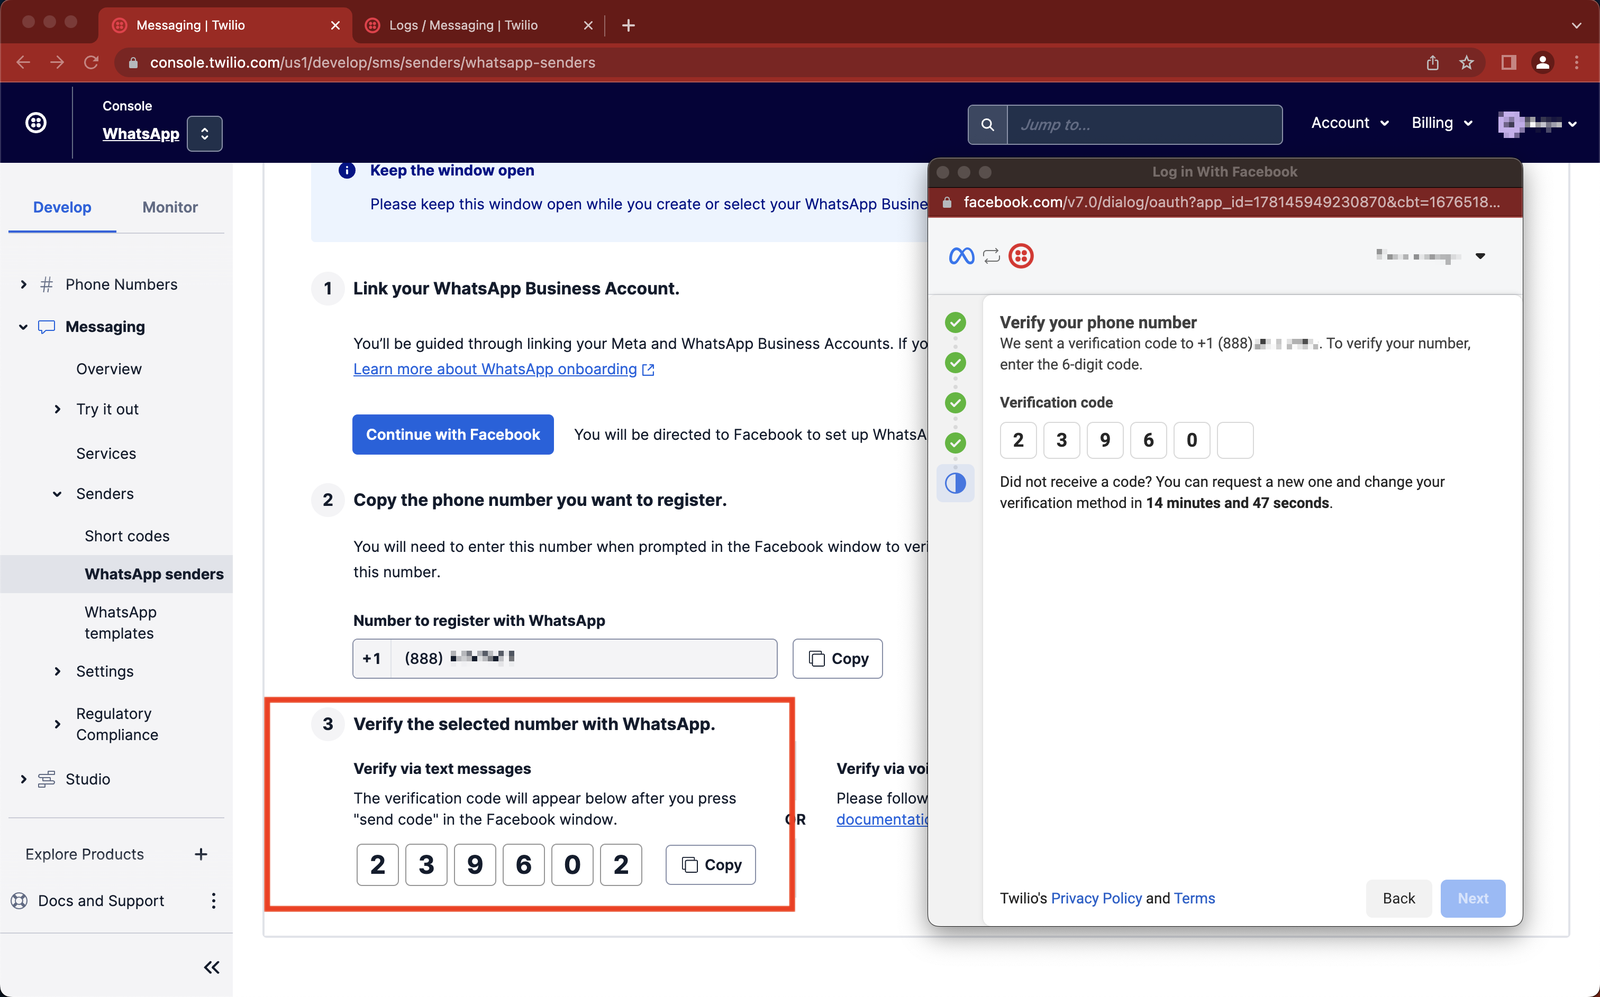
You can then click on OK on the screen to close the pop-up window. The setup of WhatsApp Senders using your Twilio number in the account has been completed successfully.
Getting your Twilio Account SID & Twilio Auth Token :
To obtain your "Twilio Account SID" and "Twilio Auth Token", go to the Twilio logo icon located in the header bar.

This will redirect you to the 'My accounts' section where you need to select your Twilio account.
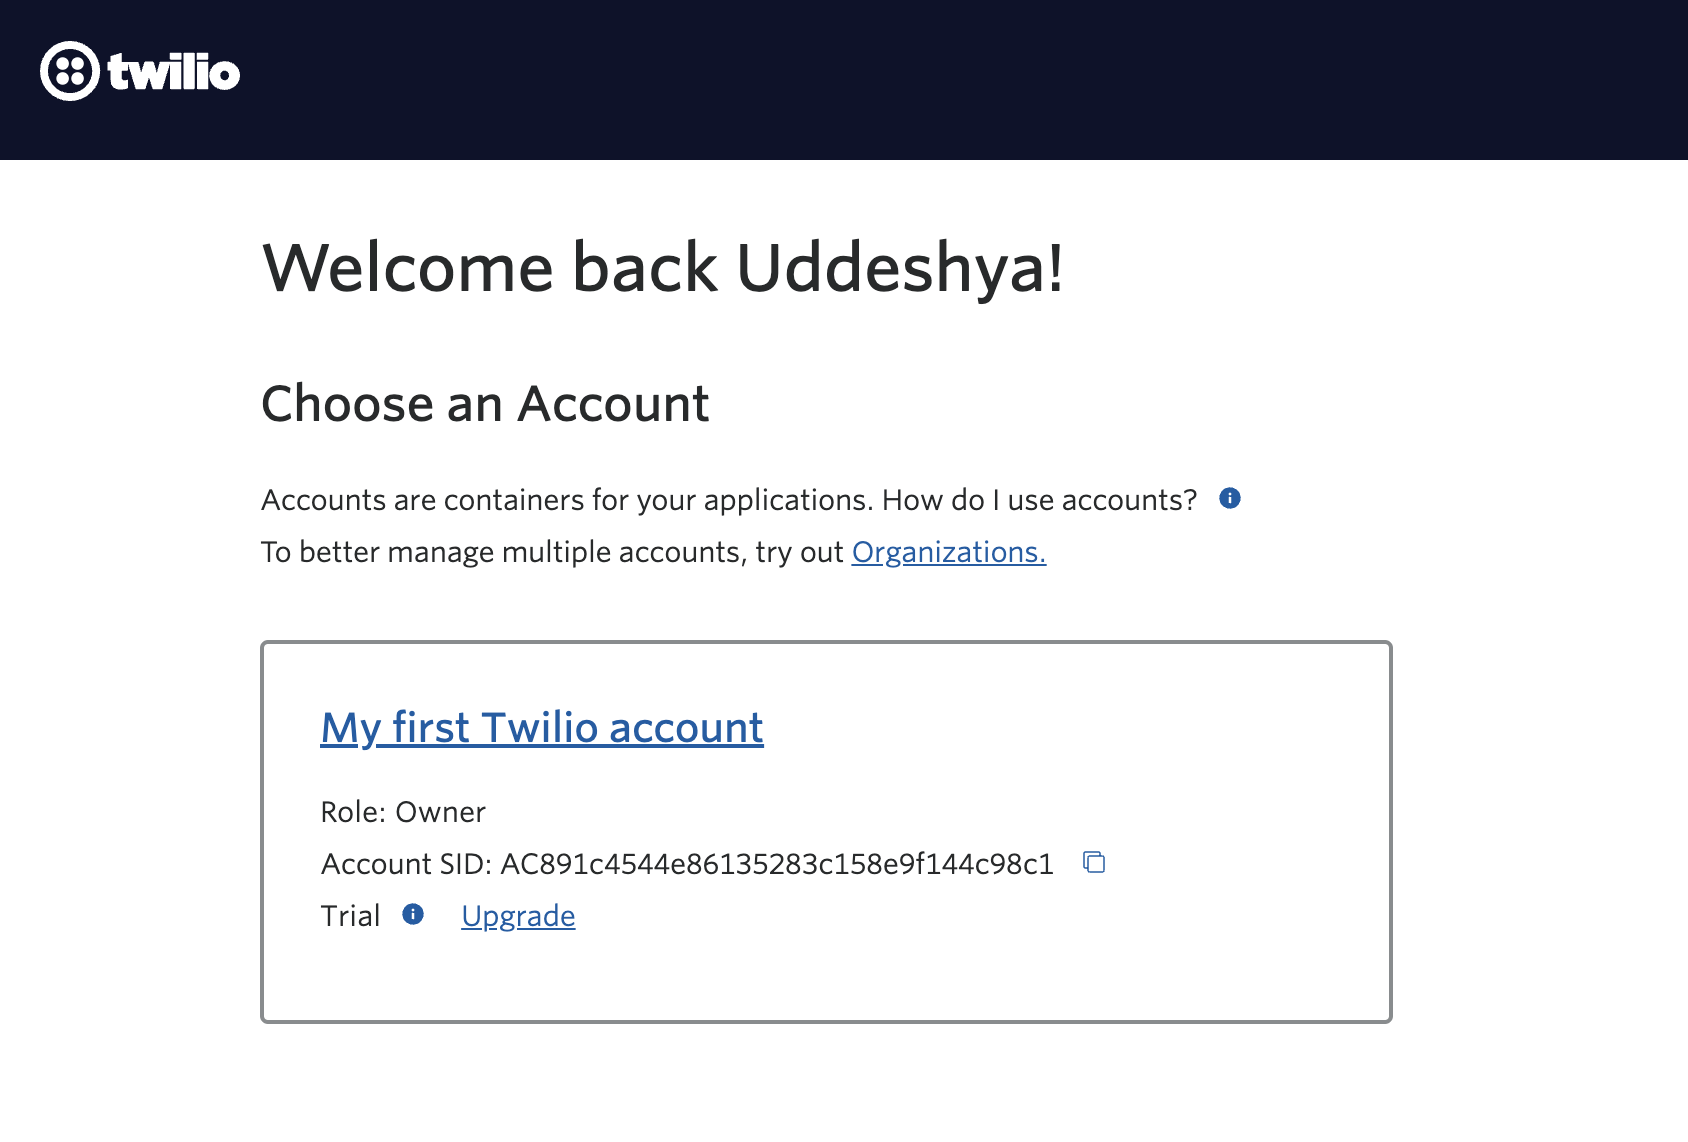
Next, select the relevant Twilio account from which you will retrieve your "Twilio Account SID" and "Twilio Auth Token". These details will be required to integrate your Twilio number into Helpwise.

Integrating Helpwise & Twilio Account:
In your Helpwise account, select Twilio within Add Inbox >> WhatsApp inboxes section, redirecting you to a Create WhatsApp Inbox window. Here, paste your "Twilio Account SID" and "Twilio Auth Token".

Next, entering the details will redirect you to input your Twilio number and Inbox Name. Afterwards, you will be prompted to grant access to your relevant team members.

The next step is configuring the webhook in your Twilio Account. To do this, copy the webhook link: www.webhook.helpwise.io/whatsapp/incoming and go back to Twilio
Webhook Configuration in Twilio:
In your Twilio dashboard, go to Messaging > Senders > WhatsApp senders. Since you already have a configured Twilio number, click 'Edit sender' under the Actions tab next to your relevant WhatsApp number. This will redirect you to a window where you can update the webhook details.

Next, we need to add the webhook link www.webhook.helpwise.io/whatsapp/incoming into the 'Webhook URL for incoming messages' option. Also, for the 'Status callback URL' paste the link: www.webhook.helpwise.io/whatsapp/status.
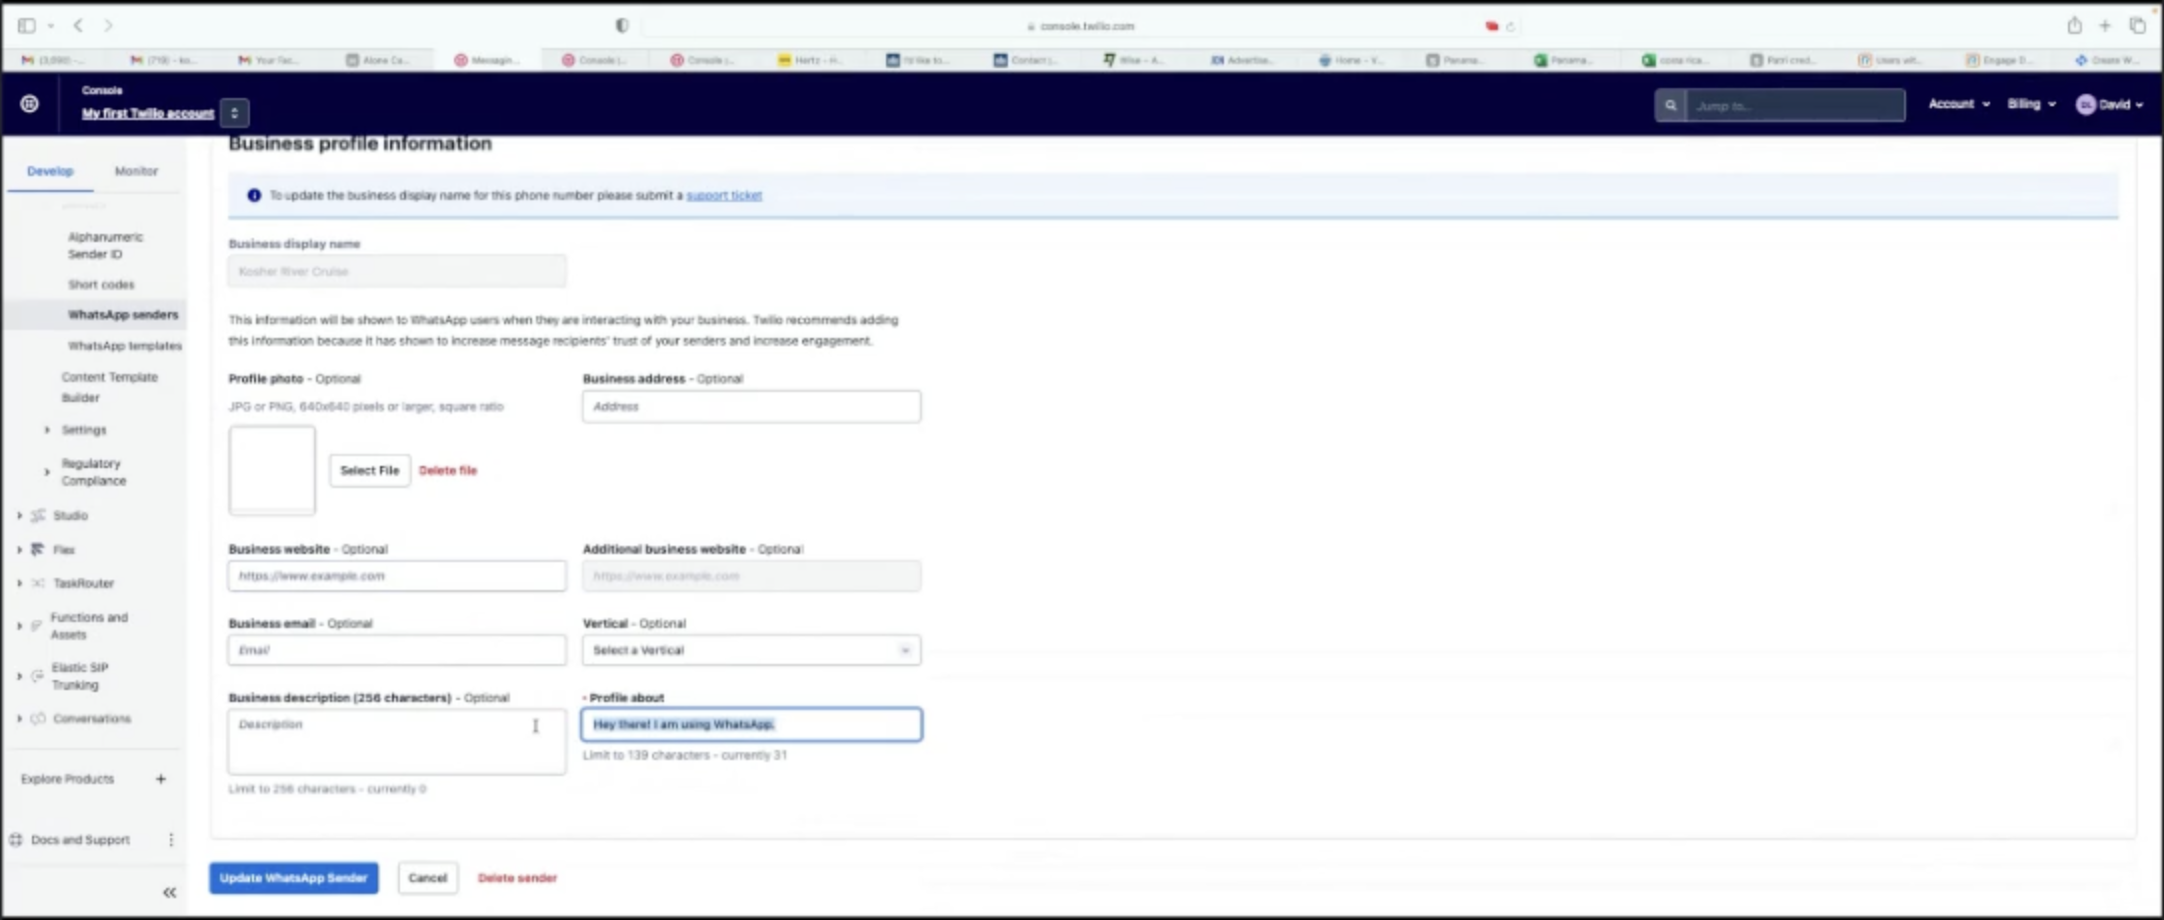
Next, complete your Business Profile Information which includes your business' profile picture, business website, etc. This is how your customers will see your business information on their Whatsapp application. Click the “Save WhatsApp Sender” button to save all the details.
Now, you have successfully linked your Twilio number with your Helpwise account. Feel free to send some test messages to verify the setup.
If you need assistance to set up your WhatsApp Inbox, please feel free to reach out to chat support or schedule a demo call with our team.